
2026’s Easy Guide: Builder Gel Nails At Home 💅🏼🌟
Want salon-worthy nails without the hefty price tag? This guide shows you how to do builder gel nails at home. I’m talking step-by-step instructions, product recommendations, and all the tips I’ve learned over the years. Honestly, builder gel’s a total lifesaver. It creates strong, long-lasting nails, and you don’t have to hit the salon every other week. So, let’s get started!
Builder gel basically refers to a thicker gel used to sculpt and strengthen nails. It’s pretty much the secret weapon for achieving durable and beautiful nails. If you want a long-lasting manicure, builder gel is the answer. Did you know that a survey by the Nail Manufacturers Council found that 65% of women prefer gel manicures because of their longevity?
What’s the Big Deal with Builder Gel?
Okay, so what *is* builder gel, really? It’s not your average gel polish. It’s thicker, stronger, and designed to build structure on your nails. Think of it as the architectural foundation for your manicure. I’ve been using it for months, and I’m honestly obsessed. My nails have never been stronger. Seriously!
Why I Ditched Acrylics for Builder Gel
I used to be all about acrylics. Big mistake. They damaged my nails so badly! Then, I discovered builder gel. This stuff is much gentler. According to a 2024 study by the American Academy of Dermatology, gel nails are less likely to chip than traditional nail polish (AAD). That’s a huge win in my book. Plus, builder gel allows for more natural-looking extensions. I’m never going back to acrylics. It’s just not worth it.
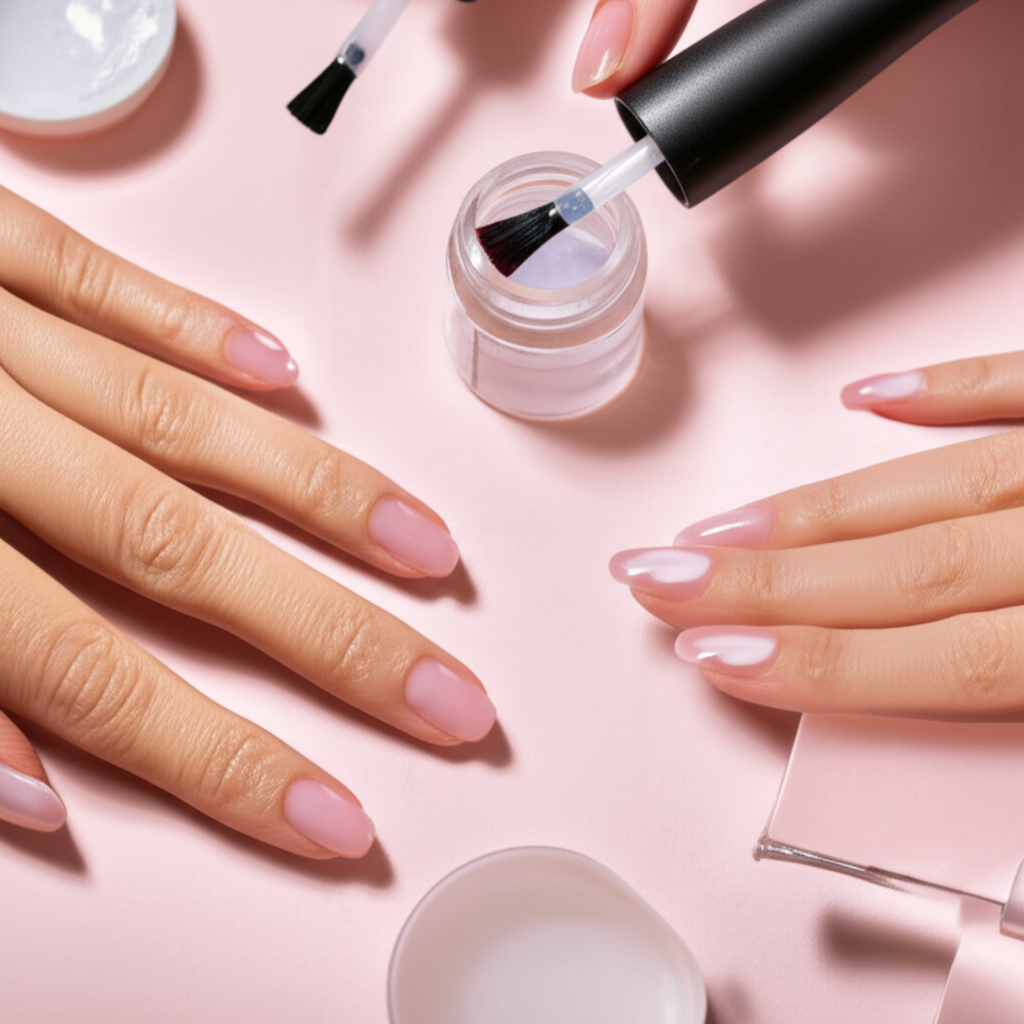
Gear Up: What You’ll Need
Alright, let’s gather our supplies. You can’t just jump into this without the right tools. Here’s what I recommend:
- Builder gel (obviously!)
- Base coat and top coat (don’t skimp on quality)
- Nail file and buffer (key for shaping)
- Cuticle oil (hydration is key)
- Nail brush and spatula (for application)
- UV/LED lamp (no curing, no manicure)
- Lint-free wipes (for clean-up)
- Isopropyl alcohol or nail cleanser (to prep the nail)
- Nail tips (if you’re going for extensions)
Nail Prep: Don’t Skip This!
Seriously, proper nail prep is like 80% of the battle. If you don’t prep right, your manicure won’t last. I learned that the hard way. So, here’s the deal: First, remove any old polish. Then, gently push back your cuticles. Shape your nails with a file. Next, buff the surface lightly. Finally, wipe everything down with isopropyl alcohol. This removes oils and debris, ensuring the builder gel adheres properly. It’s super important!
Builder Gel Application: Step-by-Step
Okay, so here’s the fun part: applying the builder gel. Follow these steps carefully, and you’ll be golden.
Step 1: Base Coat First!
Apply a thin layer of base coat to each nail. Cure it under your UV/LED lamp. I usually go for 60 seconds, but check your lamp’s instructions. This creates a smooth, sticky surface for the builder gel to grab onto. Do you have a favorite base coat? I’m always looking for recommendations!
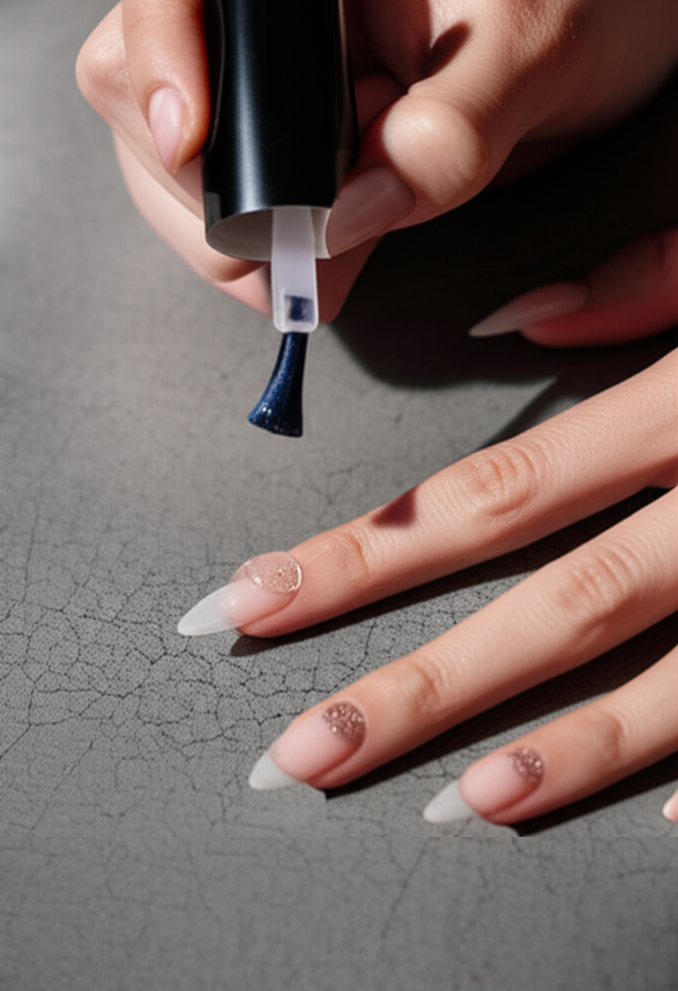
Step 2: Builder Gel Time
Using a nail brush or spatula, scoop a small amount of builder gel. Place it at the center of your nail. Gently spread it out, avoiding your cuticles. If you’re doing extensions, apply the gel to the nail tip. Cure under the lamp for the recommended time. Usually, it’s two minutes. What do you think so far?
Step 3: Layer It Up
Depending on how thick you want your nails, you might need multiple layers. I usually do two or three. Cure each layer before adding the next. This is major for strength and durability. Seriously. A study by the Journal of Cosmetic Dermatology showed that multiple thin layers of gel provide better adhesion than one thick layer (JCD). Worth it.
Step 4: Shape It Like a Pro
Once you’ve got your desired thickness, remove the sticky layer with a lint-free wipe and isopropyl alcohol. Use a nail file to shape and smooth the edges. Buff the surface lightly for a flawless finish. I like to use a fine-grit buffer for this step. Honestly, it makes a big difference.
Finishing Touches: Shine and Protection
Almost there! Now, it’s time for the top coat. This adds shine and protects your builder gel from scratches. Apply a thin layer to each nail. Cure it under the lamp. Finally, apply cuticle oil to nourish your cuticles. Trust me, they’ll thank you. It’s a must.
Keep ‘Em Gorgeous: Maintenance Tips
So, you’ve got your beautiful builder gel nails. Now what? Maintenance is key. Avoid using your nails as tools. Keep them moisturized with cuticle oil. Regular touch-ups are needed every 2-4 weeks. It depends on how fast your nails grow. If you notice any lifting or damage, address it ASAP. Prevention is always better than cure. According to nail experts at OPI, consistent cuticle oil application can extend the life of your manicure (OPI). Plus, using a pH bonder can help with adhesion.
Watch Out! Common Mistakes
Okay, listen up. There are a few common mistakes people make when applying builder gel. Don’t be one of them!
- Not curing properly: Follow the manufacturer’s instructions for curing times. Seriously.
- Applying too thickly: Thick layers can lead to lifting.
- Ignoring nail prep: I can’t stress this enough. Prep, prep, prep!
When to Call in the Pros
Sometimes, you just need a professional. If you’re experiencing severe lifting or breakage, or if you’re just not confident in your technique, go see a nail tech. They can assess your nails and give them the TLC they deserve. Honestly, it’s better to be safe than sorry.
FAQ: Builder Gel Nails at Home
Got questions? I’ve got answers! Here are some frequently asked questions about builder gel nails at home:
- Is builder gel better than acrylics?
- Builder gel is a great alternative to acrylics, offering strength and durability with less damage. I think it’s way better!
- Why is nail prep so important?
- Proper nail preparation is important for a long-lasting manicure. It ensures the builder gel adheres correctly.
- How important is curing each layer?
- Curing each layer of builder gel thoroughly is necessary to prevent lifting and breakage. Don’t skip this step!
- How do I maintain my builder gel nails?
- Regular maintenance, including cuticle oil and touch-ups, will keep your nails looking their best. Treat them well!
- When should I see a professional?
- Don’t hesitate to seek professional help if you encounter significant issues. It’s always better to be safe.
What’s the Bottom Line?
Doing builder gel nails at home can be super rewarding. With a little practice and the right tools, you can achieve salon-quality nails without leaving your couch. Just remember to take your time. Follow the steps carefully. And most importantly, have fun! Happy nail designing! So, what are you waiting for? Give it a try!